
40 Easy Art Ideas For Kids in 2020 Bookmarks handmade, Origami art
Now that your origami bookmark is complete, it's time to add your own personal touch. You can decorate your bookmark using markers, stickers, or even washi tape. You can also use a pencil to draw a cute design on the front of the bookmark. Get creative and make it your own! There are 100s of ways to decorate a corner bookmark, to suit all.
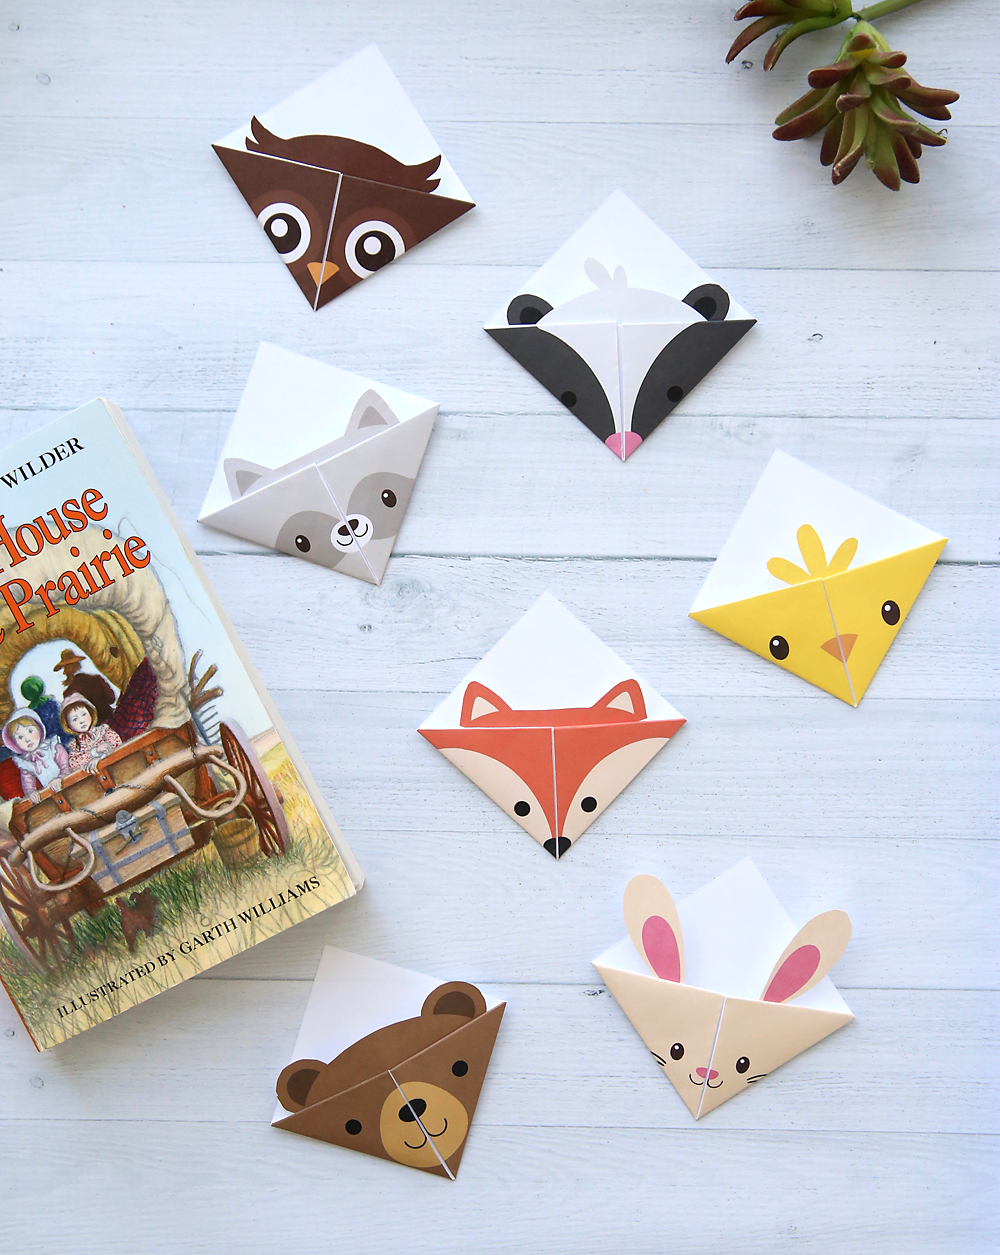
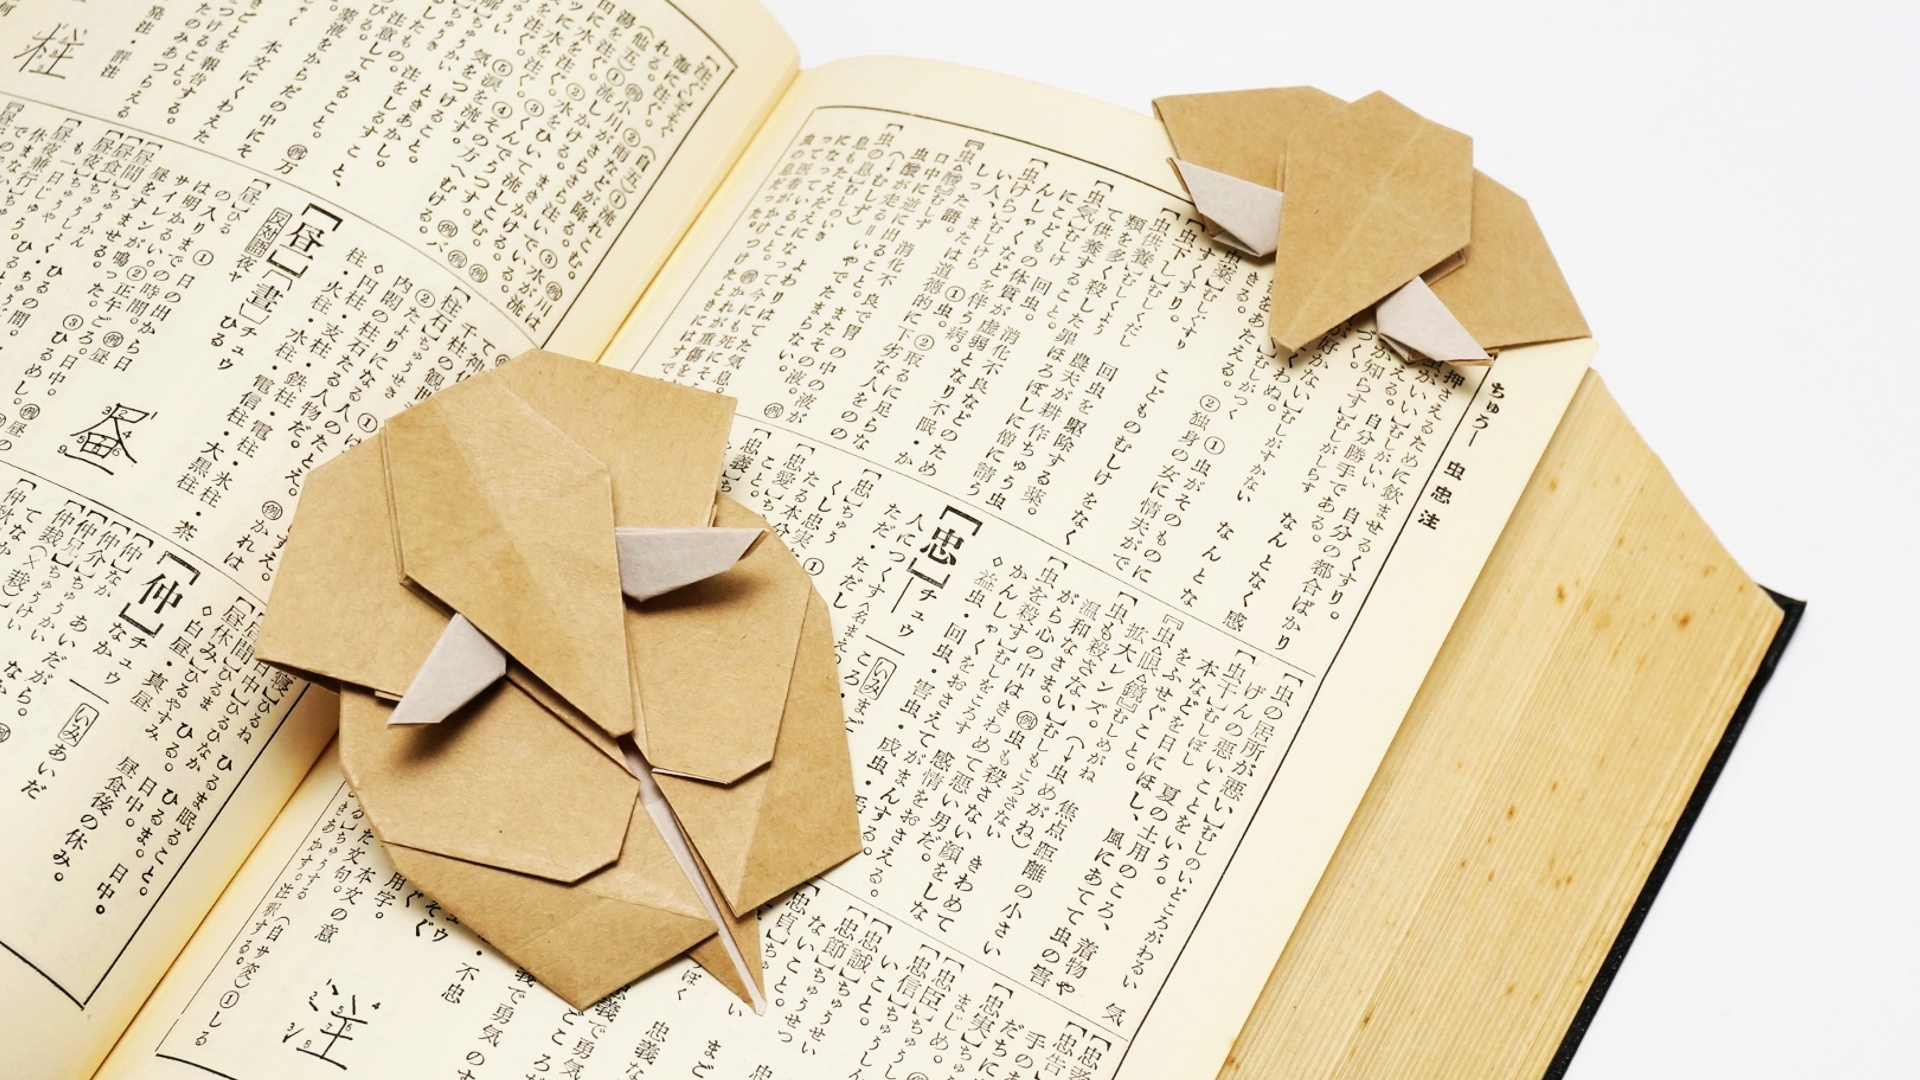
DIY woodland animals origami bookmarks {print + fold} It's Always Autumn
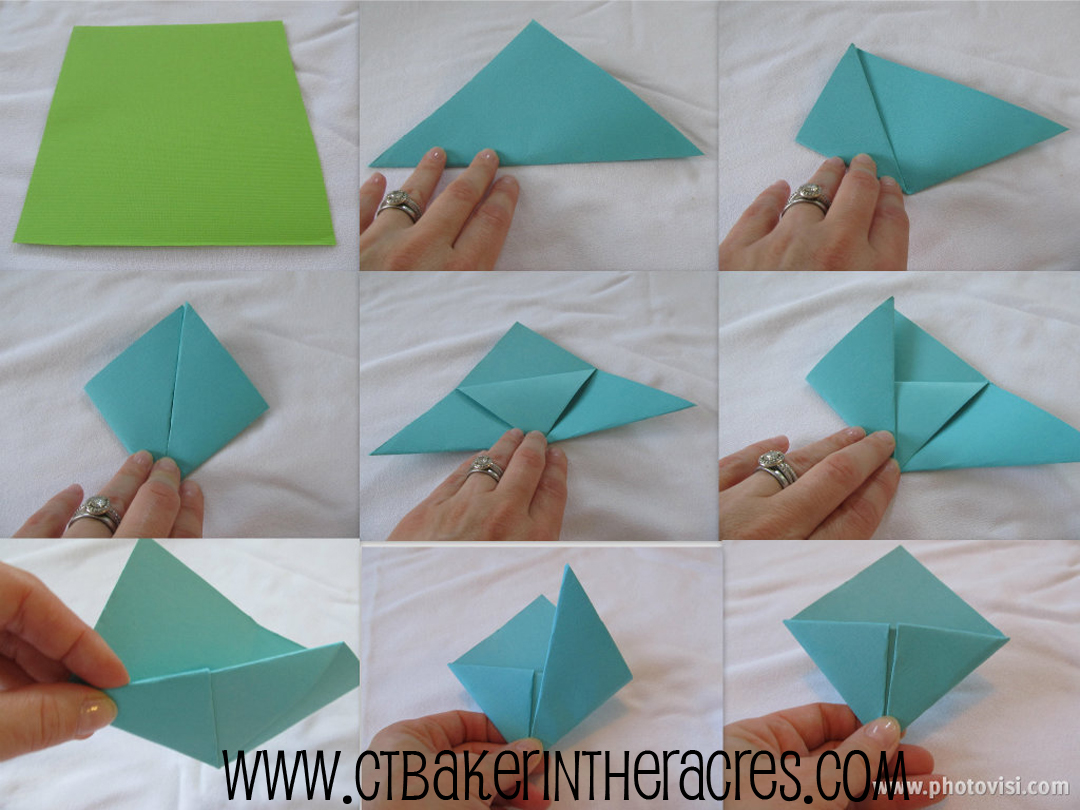
How To Make An Origami Bookmark: Step-By-Step Instructions. 1. Creating a Triangle with a Square Paper. Start with a square piece of paper set down flat in front of you. Take the bottom corner of the square sheet of paper and fold it up to meet the top corner of the page to form a triangle. 2.

வீட்டிலேயே அழகழகான Book Mark அட்டைகள் செய்வது எப்படி..? How to make
7. Heart Origami Bookmark. These heart-shaped origami bookmarks are the best gifts on casual days with so many fun uses. The colorful heart paper origami bookmarks can say a lot to the person you are going to gift to. Like Dream, Marry me, Girl power and more. So grab some colorful paper and permanent marker. diycandy.

Read about Origami Designs origamilovers simpleorigami Bookmarks
2. Fold the bottom corner up to the center point of the square. Place your square on a table, one point facing towards you so it looks like a diamond. Bring the bottom point up to meet the top point. Crease in the middle to create a small triangle. 3. Fold upward again at the center, creating a second triangle.

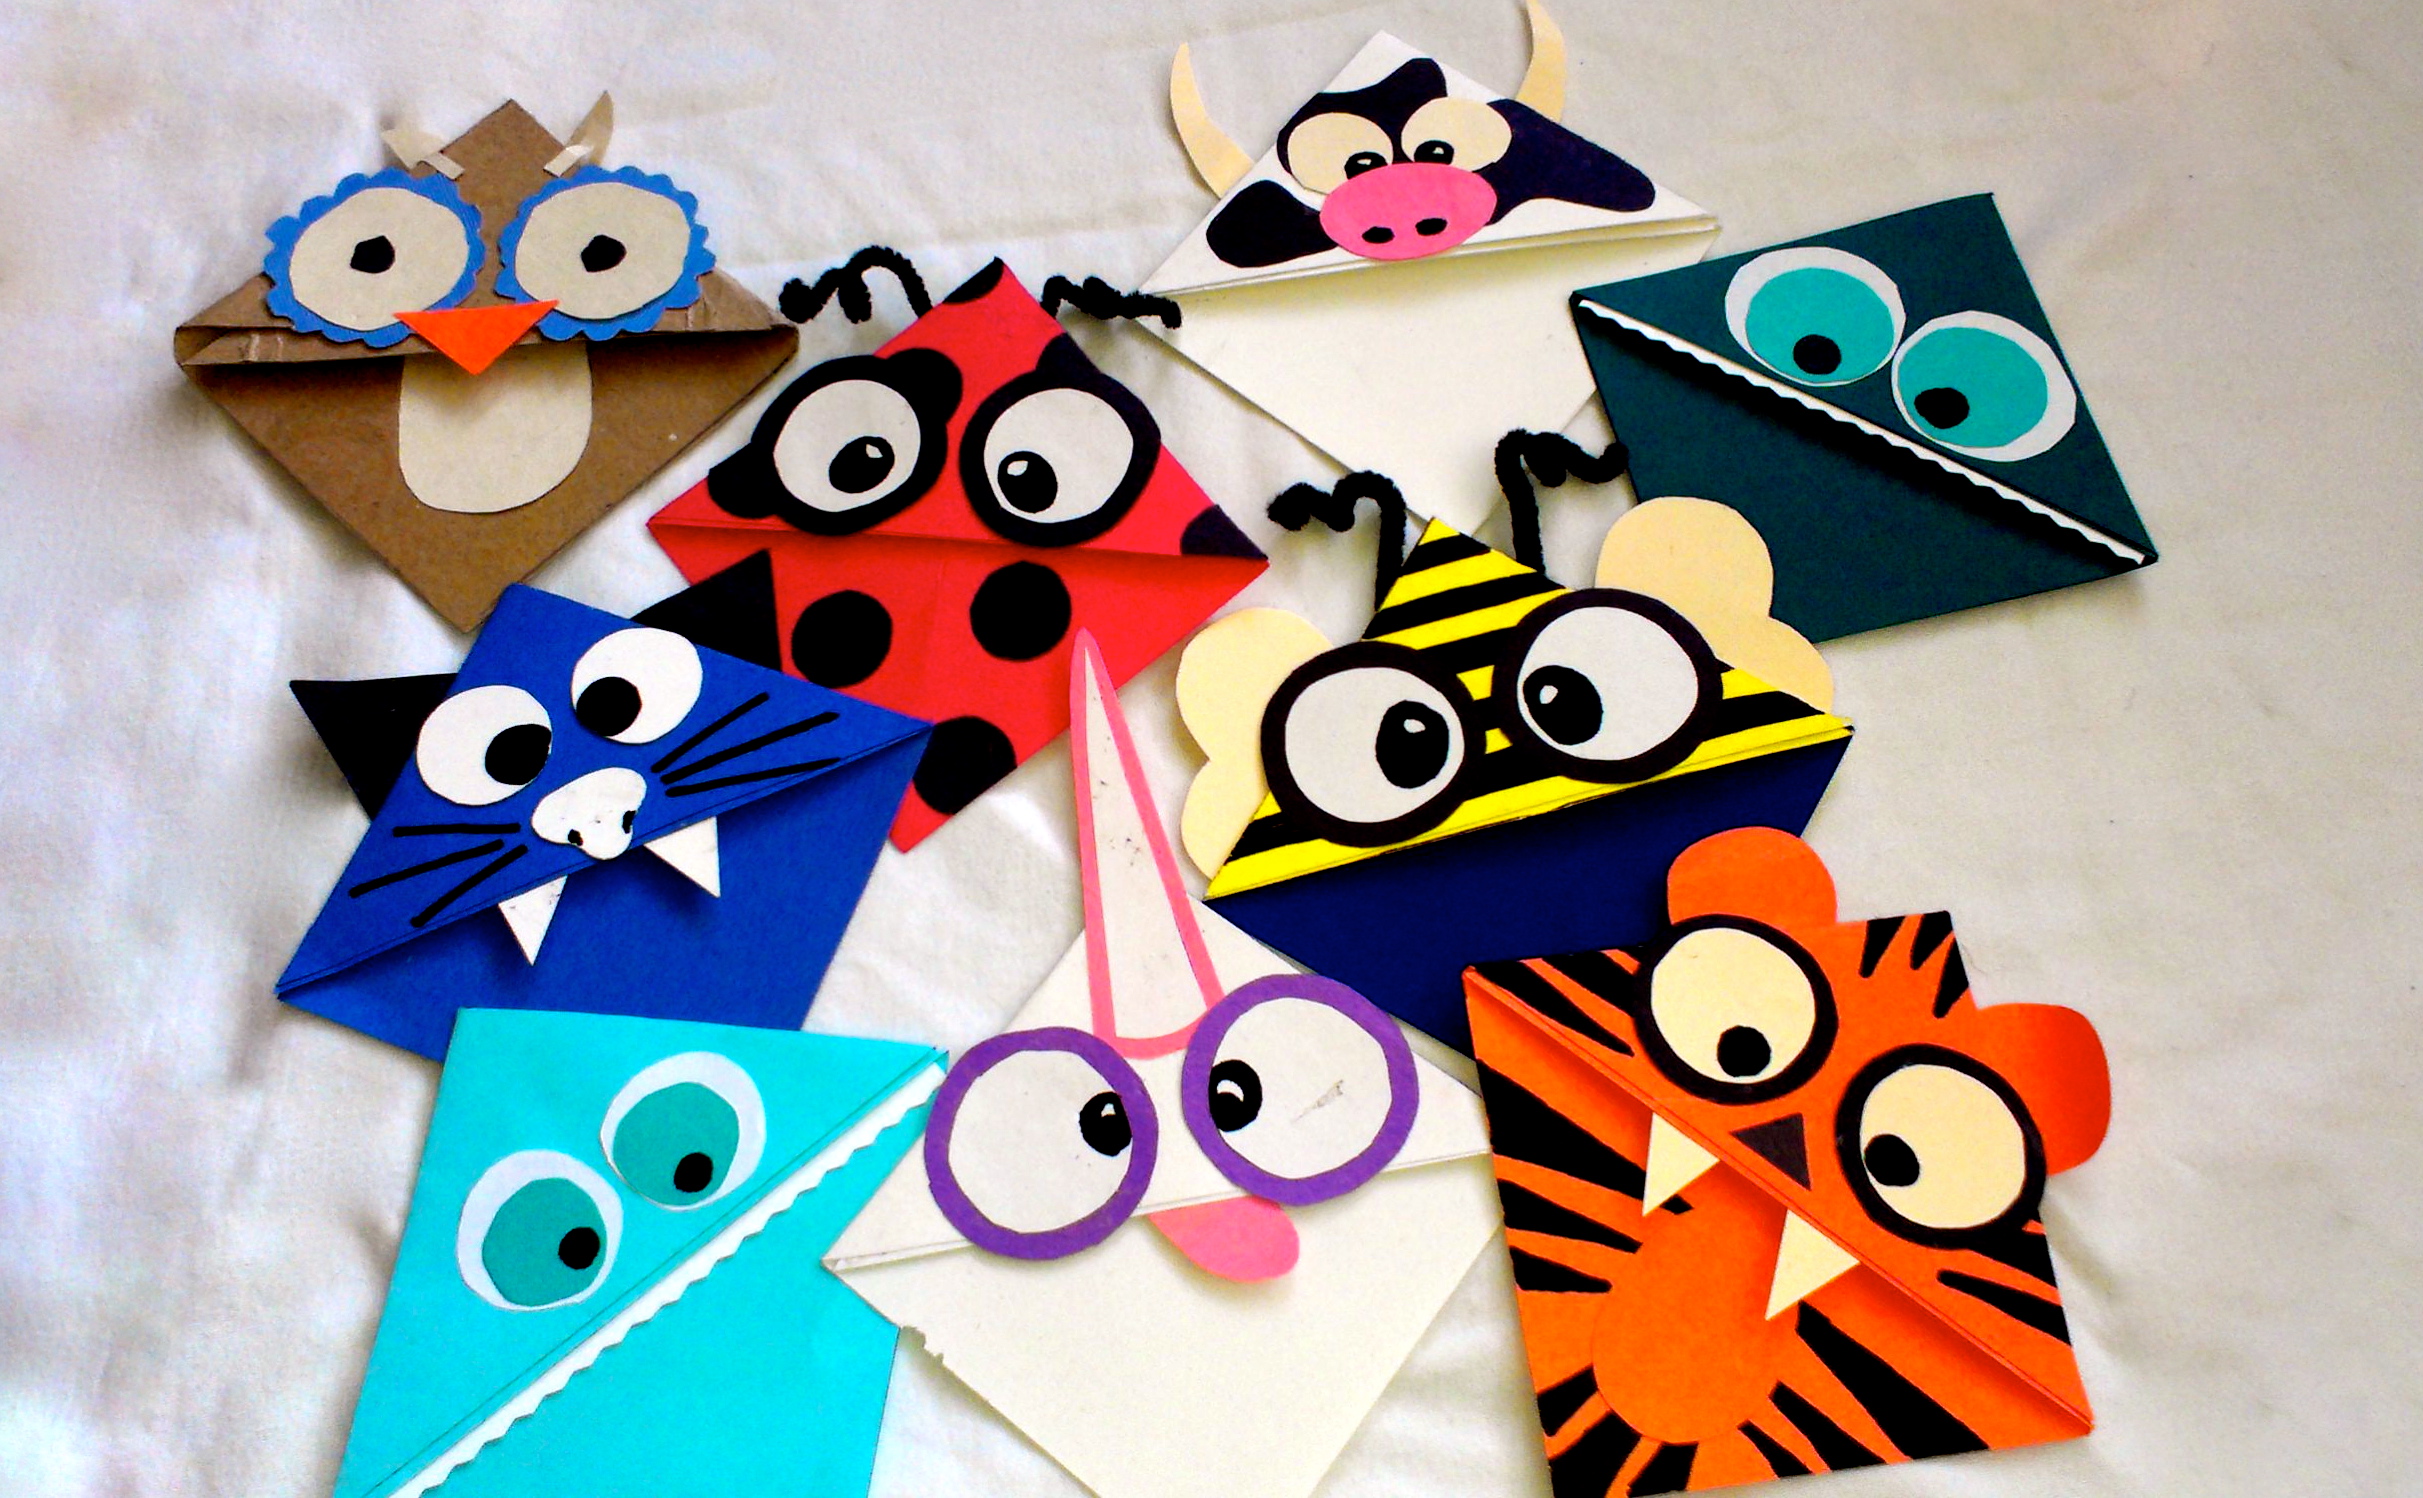
Character Bookmark Corners Bookmarks handmade, Origami crafts
Origami Clip & Pocket video (Sweet Paper) Panda Bookmark: 1, 2 (R Diaz) Page Marker (M van de Beek) Practice Penguin Bookmark (V Vann) Rabbit Head Bookmark (KD Ennen) Santa Bookmark: 1, 2. Simple Bookmark (M Michaelis) Triangular Bookmarks (RL Wemm) One would think that making a book out of paper should be easy.

DIY woodland animals origami bookmarks {print + fold} It's Always Autumn
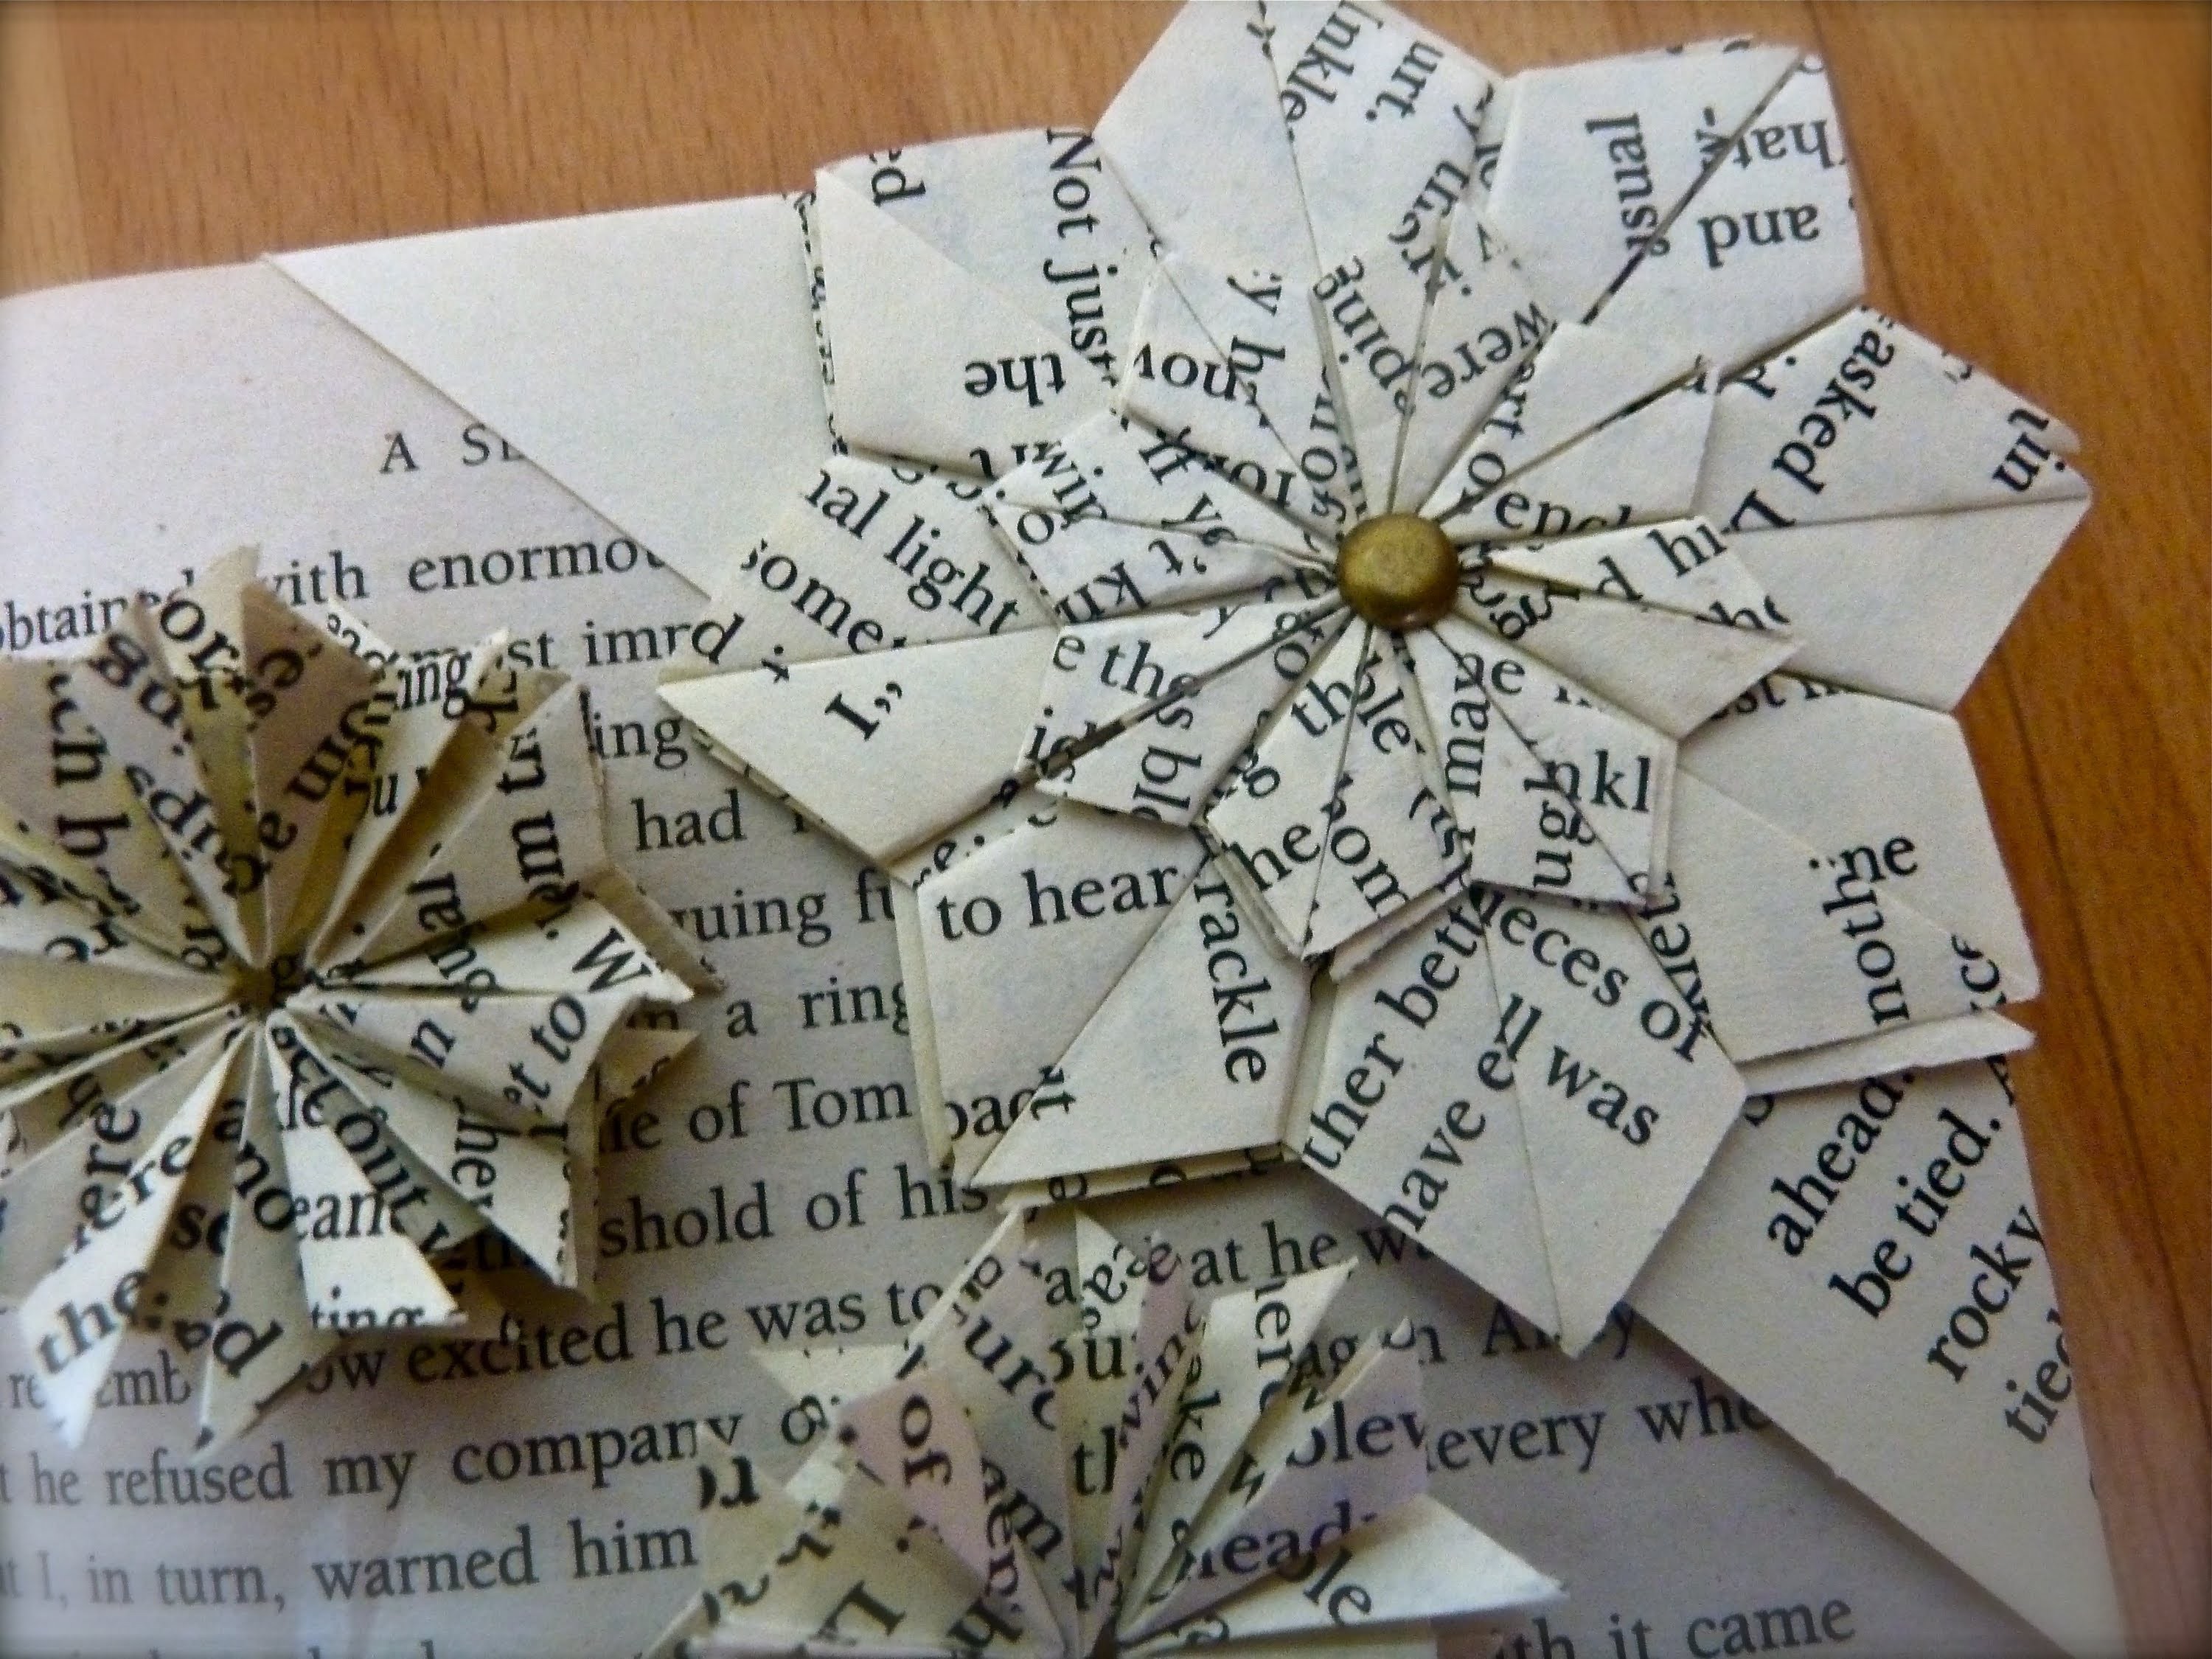
The paper bookmark "Flower" is a beautiful origami for your lovely book. We need a square sheet 15 x 15 cm. The idea and design by Anastasia Prokuda. I wish.

Easy Origami Bookmarks for Book Week May Gibbs
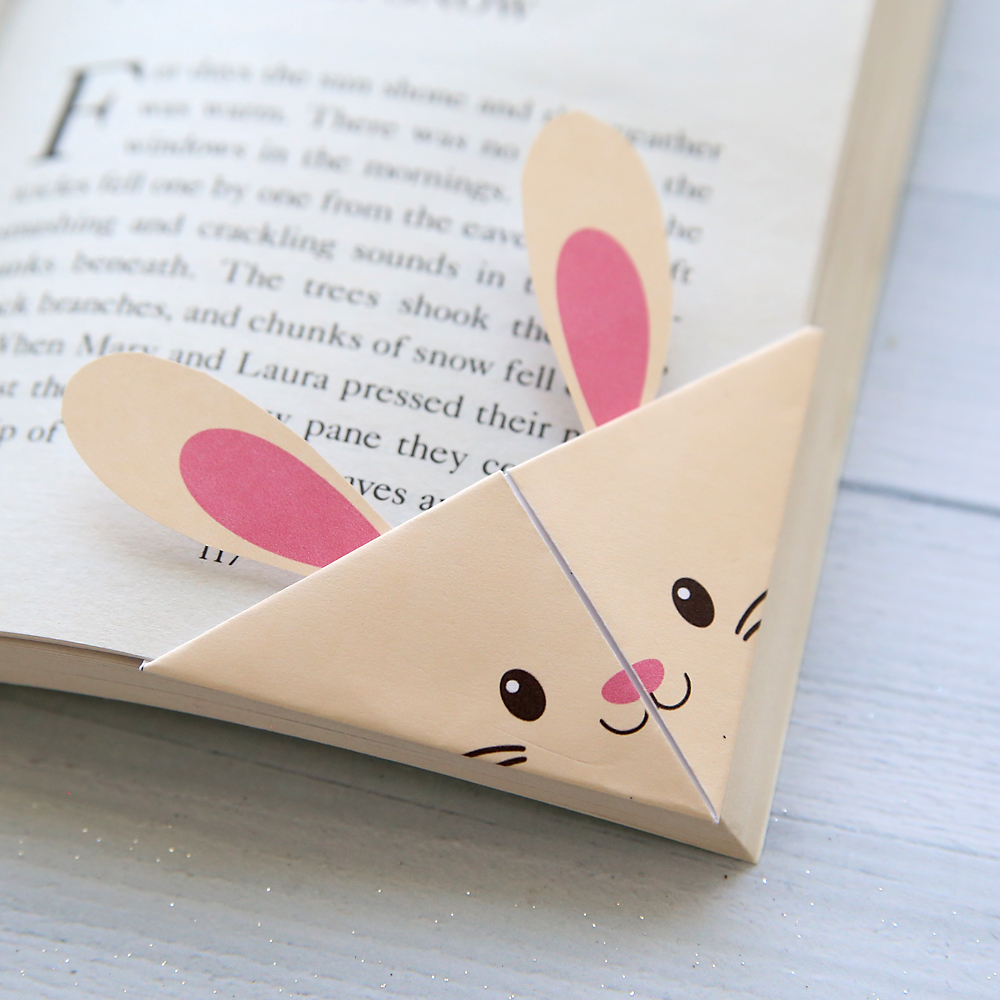
Follow the instructions below to create your very own origami bookmark! 1. Cut out template and add-ons. Choose your favorite template below, then print and cut it out. Start by placing the paper with the corner facing you and the design facing down. The solid colored triangle should be closest to the bottom corner. 2.
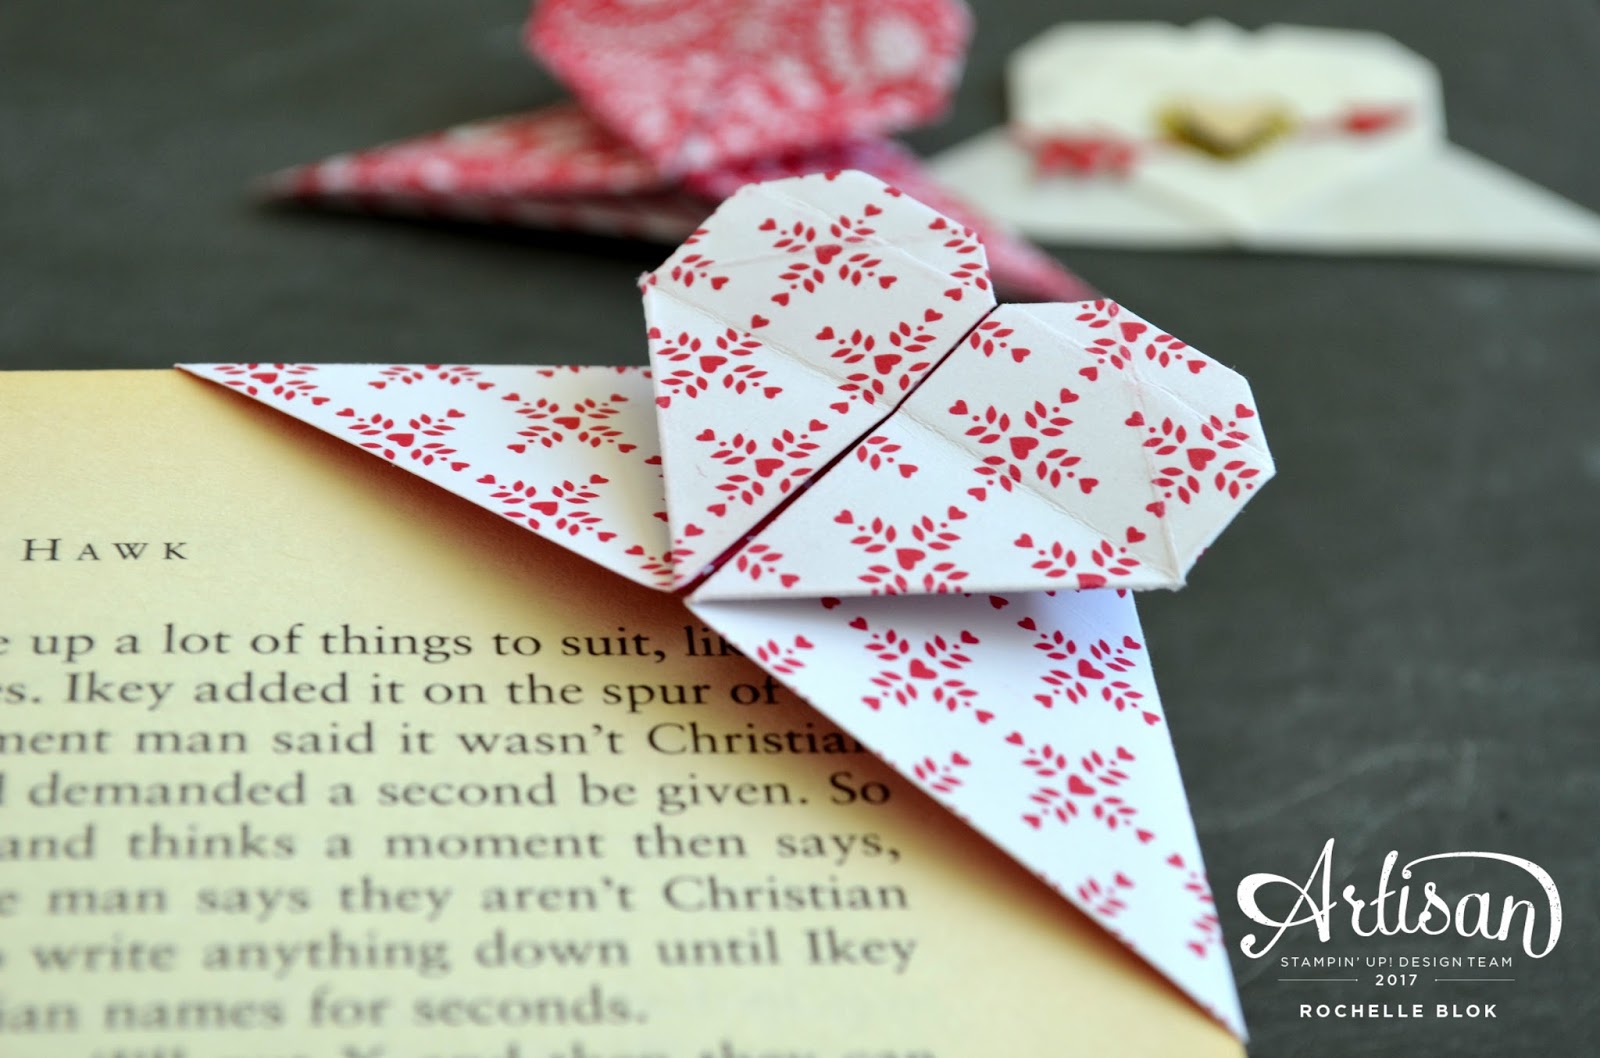
Rochelle Blok Sending Love Origami Heart Bookmarks
Make the Initial Folds. To begin making your origami bookmark, place your origami paper on a flat surface with the white side (or side with no pattern) facing up. Fold it in half diagonally to make a triangle. Crease well and then unfold. Then, fold the paper in half diagonally in the opposite direction. Crease well and then unfold.
30 Best DIY Bookmark Ideas for Crafty Bookworms
CORNER BOOKMARKS / HOW TO MAKE ORIGAMI BOOKMARK FLOWER WITHOUT GLUE / DIY ORIGAMI BOOKMARKIn this video you can learn how to make Origami Flower Bookmark whi.

Origami bookmark, Origami, Origami bookmarks
Easy Origami Bookmark Corner. Learn how to make a basic corner bookmark diy. Red Ted Art Craft Basics. CLICK FOR MORE INFO!See ALL our amazing Corner Bookmar.
SPARKLY LADIES! Monster Origami Bookmarks
Feb 2, 2023 - This Pin was discovered by claudiamelluso. Discover (and save!) your own Pins on Pinterest
Origami Elephant Bookmark Jo Nakashima
Hello everybody! In this video I teach you how to make the easiest origami butterfly you will find on the internet.The only material needed is 1/2 square of.
DIY woodland animals origami bookmarks {print + fold} It's Always Autumn
Here is a simple way to make great looking DIY bookmarks out of paper.In this video, I'll show you how to make an easy origami bookmark 📚.and I'll show yo.
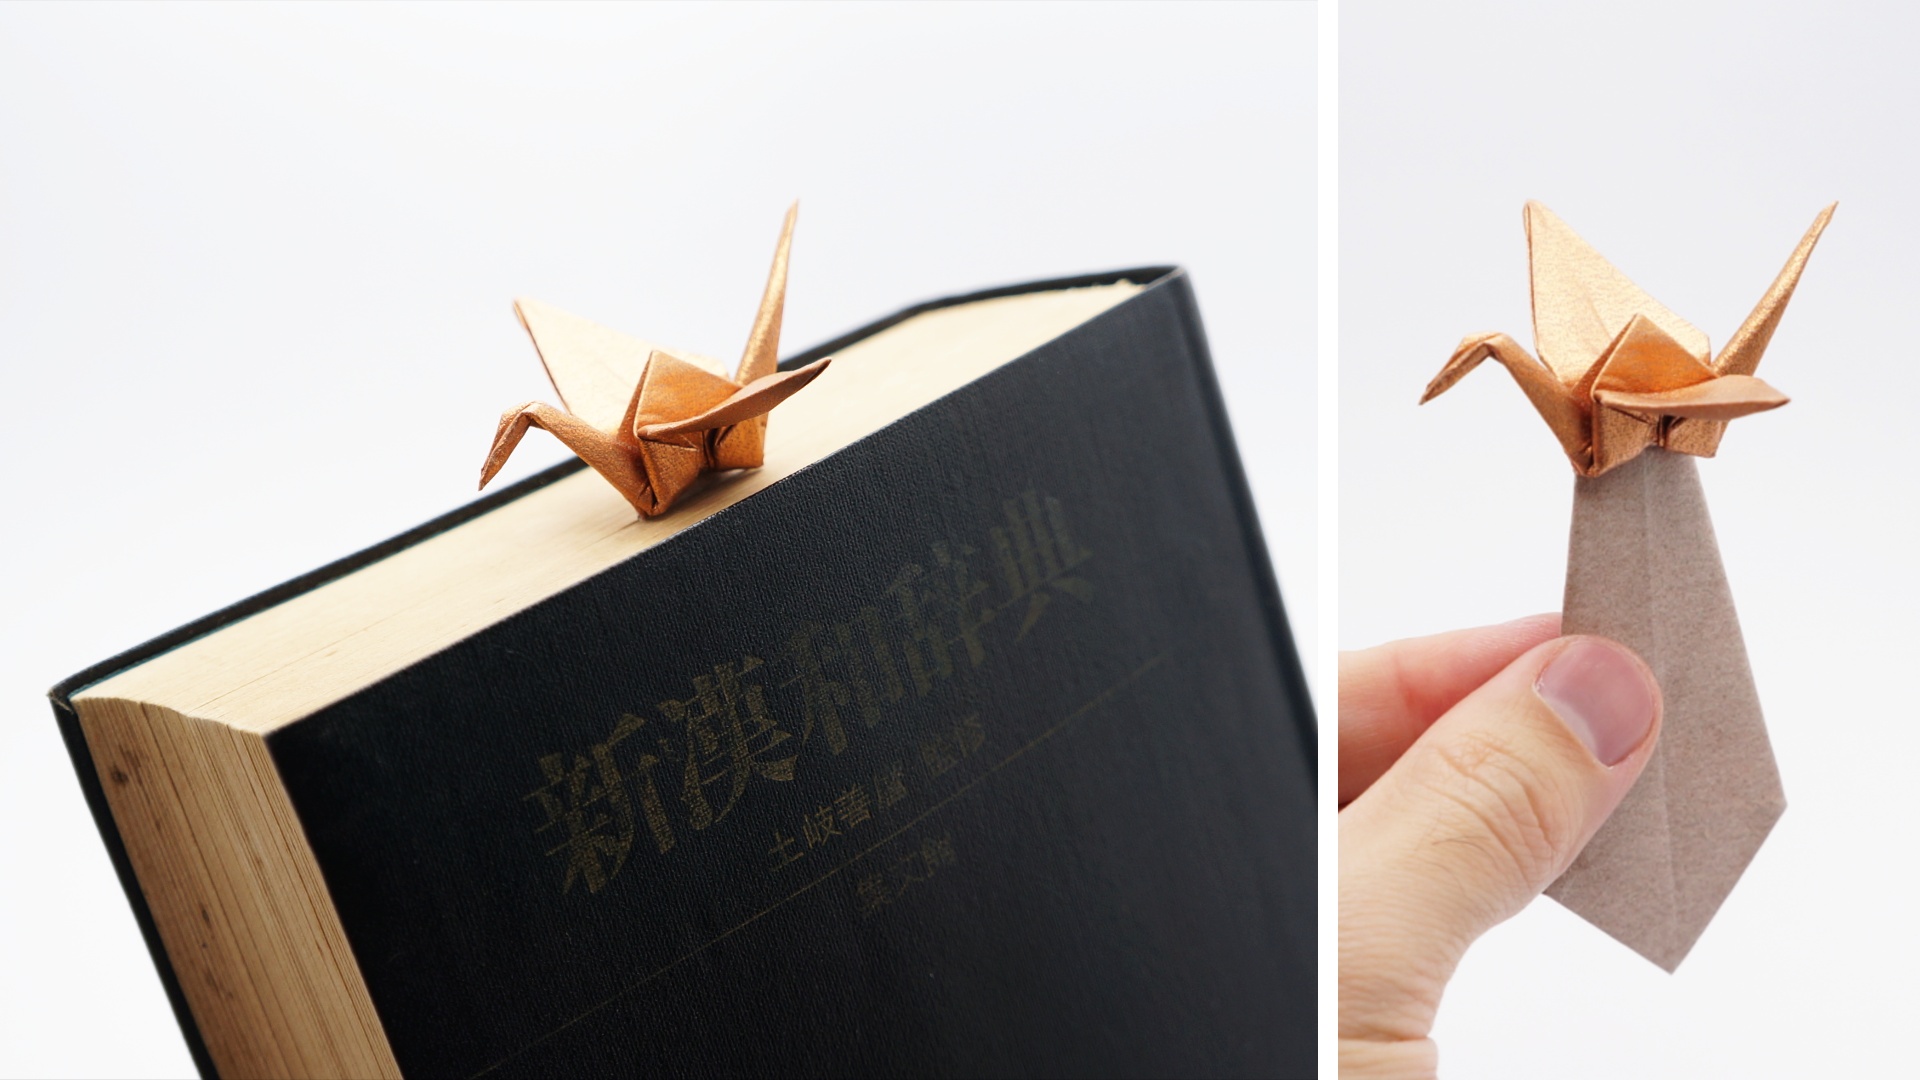
Origami Crane Bookmark Jo Nakashima
Re-fold the center of the paper back up along the crease. Re-fold the outer corners up, following your previous creases. Pick up the paper and squeeze the edges to open the pocket. Tuck the top left point straight down into the corner of the pocket. Tuck the top right point straight down into the corner of the pocket.
DIY Easy Origami Corner Bookmark
How to fold a DIY origami bookmark. Watch this video to see how to fold these DIY bookmarks (written instructions follow): 1 - Print bookmark template on plain white printer paper. Trim along lines to cut out the square. 2 - Fold square in half diagonally to create a triangle.

Origami Dragon Bookmark Jo Nakashima
Folding an Origami Heart Bookmark. Download Article. 1. Fold the paper in half horizontally, unfold it, then fold it vertically. Use a square piece of paper in any size. Align the bottom edge with the top edge and make a crease. Then unfold the paper and align the left edge with the right edge.